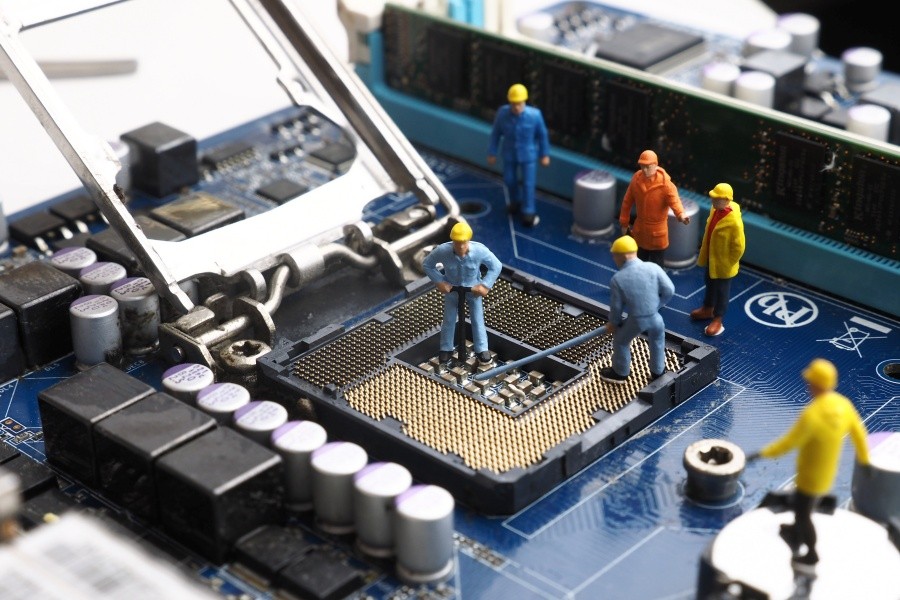
Desktop Motherboard Repair: The Simple Step-by-Step Guide

The work of desktop motherboard repair seems a quite difficult task due to the complex structure of the motherboard having many ICs (internal chips), capacitors and resistors.
In reality, it is not. We are going to give you a simple step by step guide to check your motherboard yourself. You can also repair it yourself if you find the problem in the right area correctly. We must tell you that, in many cases, there is just some mist or dust causing the motherboard not generating any display on the monitor. In other simpler cases, your ram or capacitors need to be polished or replaced to get started.
If you do not see any display of your computer, but you can hear the sound of the fan and other typical system sounds. You should not worry much about the motherboard or something. You should follow these following simple steps to get the display of your PC back on your monitor.
Desktop Motherboard Repair: Step-by-Step Guide
1. Checking the Wires
First of all, you should check the proper wire connectivity(both power cable and VJ cable) to make sure that the proper current is flowing through PC to monitor.
2. NUM Lock Check
If your PC wiring (Power cable and VJ cable) and monitor wiring are all set. You should press the NUM lock to check if your PC is properly running or not. If NUM lock does not produce any light, it means the PC is not running well.
3. Check the RAM
You can pull out your RAM and rub it to clean any dust, Carbon or moistness on it. Then you can put it back into the circuit. You can check all RAM slots step by step. If none of the RAM slots is generating a display, you should just change your RAM.
4. Check the Capacitors
If a newer RAM is also not working. You should check your motherboard further, You should check all the capacitors’ reading on the motherboard. You can replace the faulty capacitors or moist pads of your motherboard. If all of your Capacitors and moist pads are working fine. You should check other parts as well.
5. Check the Bridge
After checking the values of capacitors, you should check your Bridge. The bridge provides the power supply to the Display drivers and monitor.
6. Check the Resistors
Next step is to check the resistors between the ICs and RAM chips. They are used in a series. So you can easily find the faulty resistor and replace it with a new one.

Concisely, there is more than a 90% chance of just hardware rustiness or erosion problems. You just have to clean all the parts of the motherboard and replace some damaged or burnt parts of the internal chips like capacitors or resistors. So, always try to follow above desktop motherboard repair steps before going to reboot your computer or reset your BIOS (basic input/output system).
If you need some professional to help with your desktop motherboard, feel free to drop us an email or a WhatsApp for more assistant.
Dec 21,2023
