
How To Share Files On Google Drive

We use Google Drive to draft new blog posts, take meeting notes, share information with clients and more. A majority of our clients also prefer Drive to other file storage systems. There are several reasons why, but Google Drive is just fast, simple, and secure.
First, you need a Google account. If you already have a Google Account direct refer to step 1 below, if not please head to Google’s Sign Up page to make a Gmail account. Usually Google will give a free gmail account for 17GB free storage. Let’s start the tutorial.
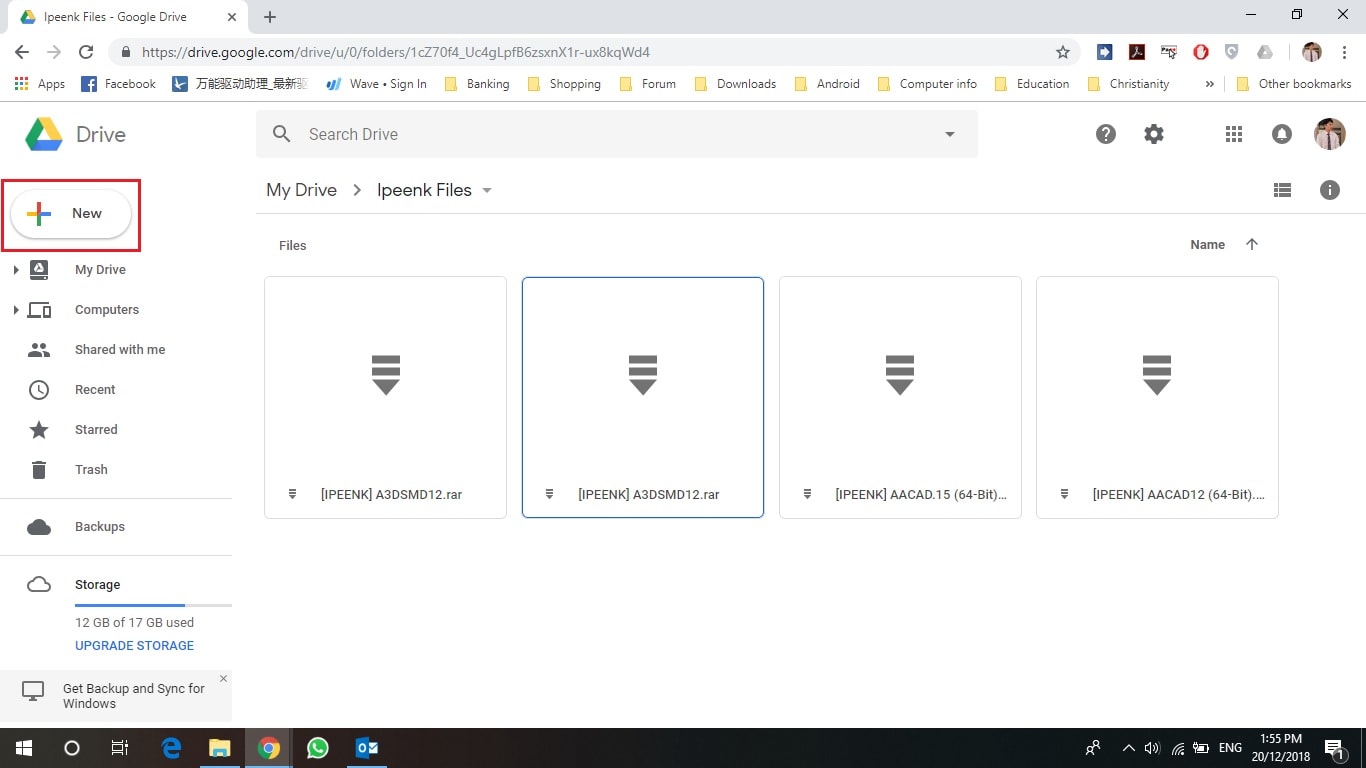
STEP 1 – Upload your files to Google Drive
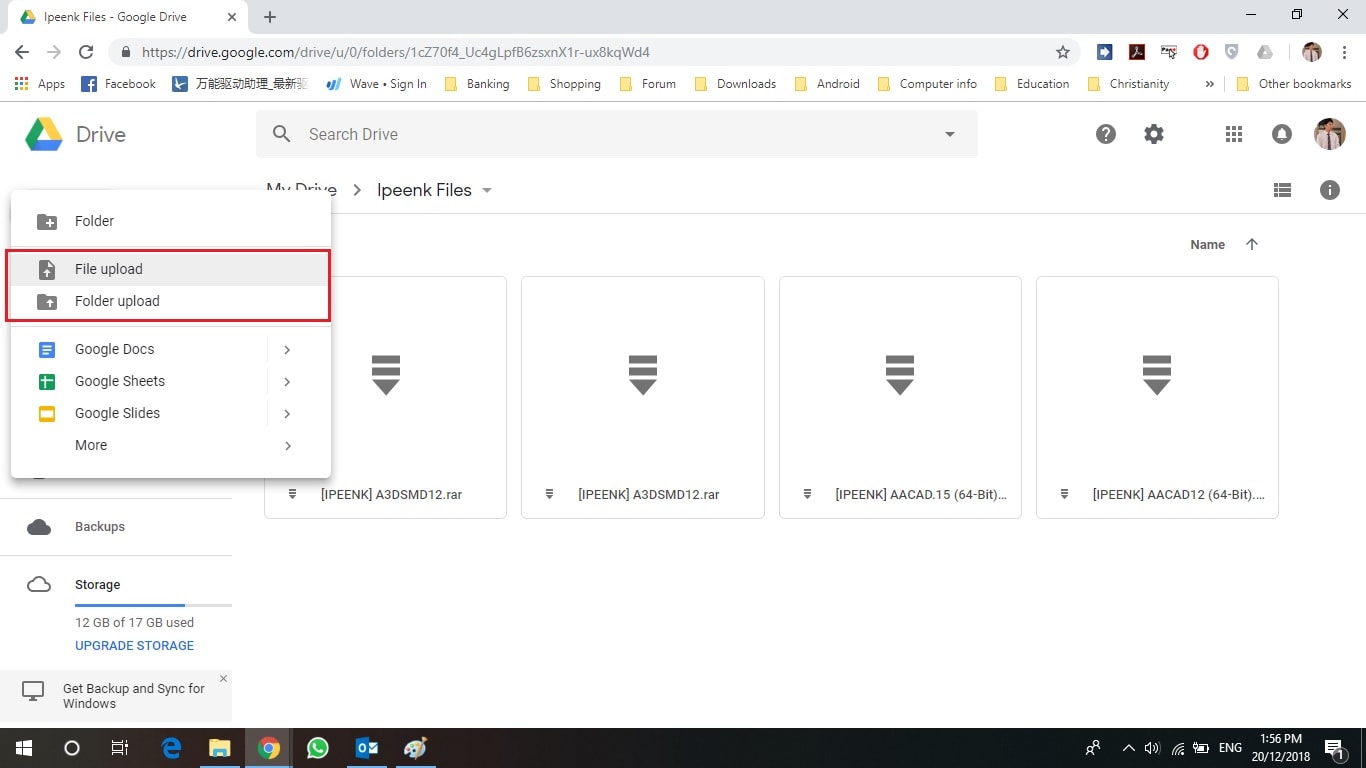
Click the “NEW” at your right panel for uploading files to Google Drive. Nest you need to choose whether you want to upload files or folder as a whole.
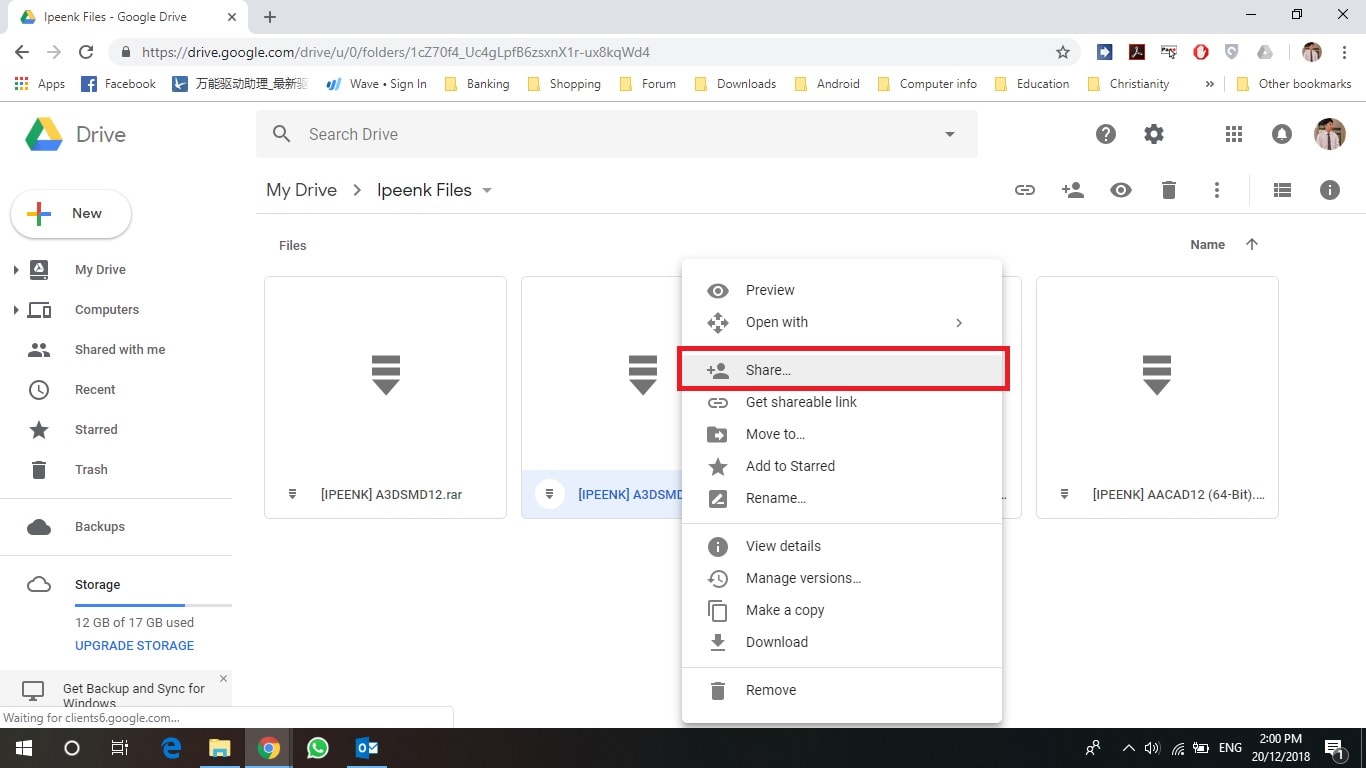
STEP 2 – Share your files to other
After the files or folder is upload finish, right-click to the files that you wanted to be share to others.
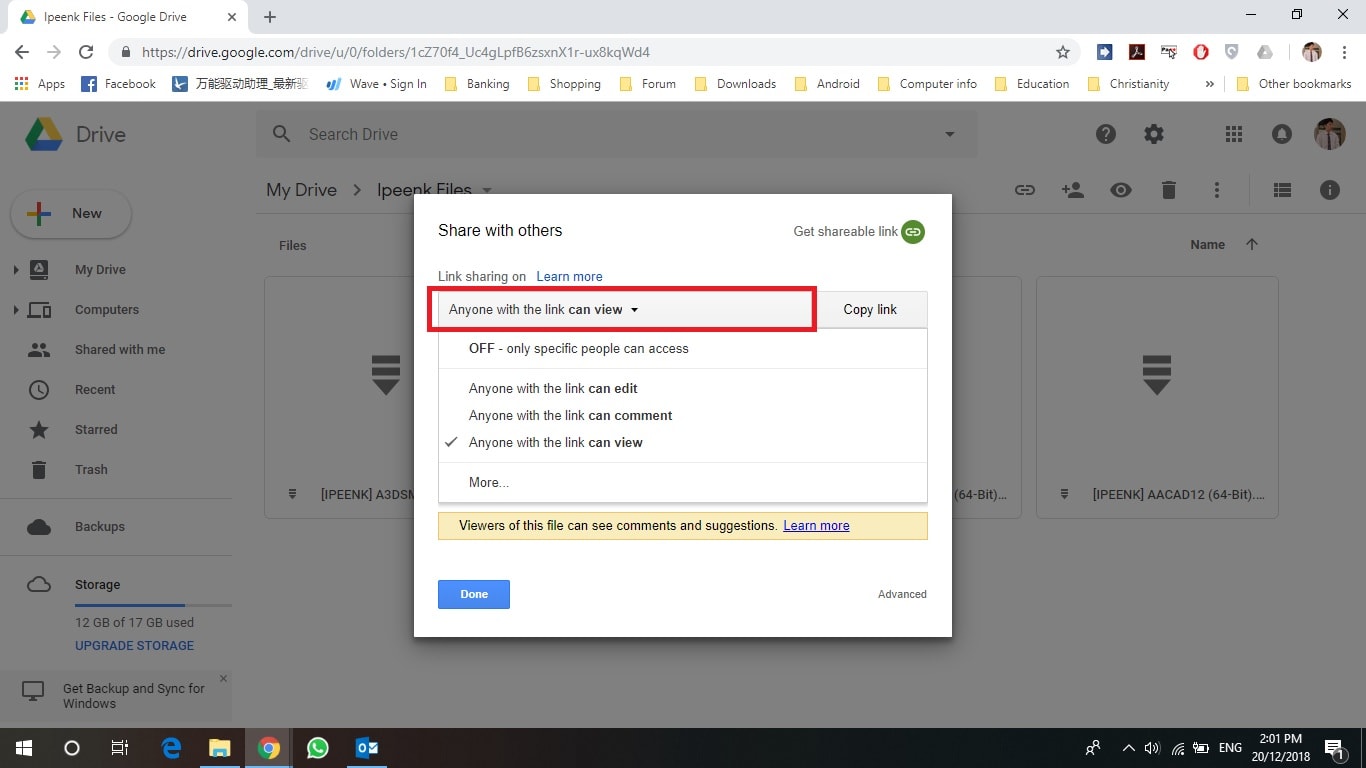
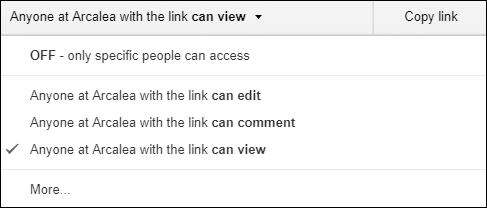
STEP 3 – Set the level of access for the files you shared
there are three levels of access you can grant any file or folder: Can edit, Can comment, or Can view.
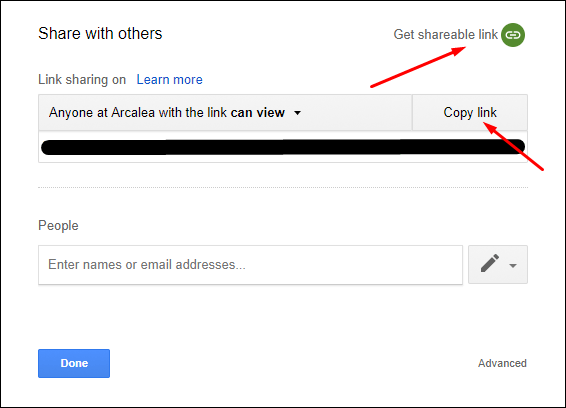
STEP 4 – Share the link or email the link to user
There are two ways to share your document: add each authorized user’s email in the box after hitting share, or copy a link that can be forwarded and opened by anyone who has the link.
LINK SHARING
Links should only be used for quick sharing of non-confidential or non-sensitive information. Assume that anyone with a link might accidentally forward it to the wrong person and that a total stranger might be able to read it. If you want to avoid this, you can set specific access to people who have the link.
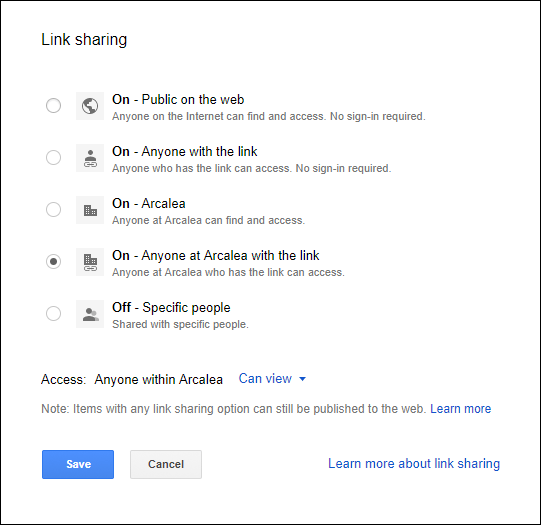
If you hit the “More…” section in the viewer access drop-down, it’ll bring up a list of more options for link sharing, like only allowing people from your organization to see it, or needing access and the link to access the document.
NOTE:
Setting link sharing to “On – Public on the web” will set the document to be discover-able in Google’s search engine. Make sure this is what you want to do before saving with this setting.
Email Invites
Email invites are more secure as you retain control over who can access your document and what each person has access to do. After adding the recipient’s email, you can include a note to give that user some notice about an action they need to take, or a description of what the document is for.
Once you confirm the recipients, an email is sent to let them know you have shared a document with them.
First, you need a Google account. If you already have a Google Account direct refer to step 1 below, if not please head to Google’s Sign Up page to make a Gmail account. Usually Google will give a free gmail account for 17GB free storage. Let’s start the tutorial.
STEP 1 – Upload your files to Google Drive
Click the “NEW” at your right panel for uploading files to Google Drive. Nest you need to choose whether you want to upload files or folder as a whole.
STEP 2 – Share your files to other
After the files or folder is upload finish, right-click to the files that you wanted to be share to others.
STEP 3 – Set the level of access for the files you shared
there are three levels of access you can grant any file or folder: Can edit, Can comment, or Can view.
“Can Edit” user can:
- Make changes to the contents or the title of the document
- Share with other users
- Comment on files
- Save or download the file to a personal account
“Can Comment” users can:
- Suggest edits as highlighted changes that can be approved or rejected
- Comment on files
- Save or download the file to a personal account
“Can View” users can:
- Read the document
- Save or download the file to a personal account.
Once a person is given access to a file, they may also be changed from a viewer or editor to an owner of the file.
“Is Owner” user is the only one who can:
- Delete and recover the document (This option appears only after they are granted initial access)
- Disable download/print/copy options and Prevent editors from changing access or adding new people
STEP 4 – Share the link or email the link to user
There are two ways to share your document: add each authorized user’s email in the box after hitting share, or copy a link that can be forwarded and opened by anyone who has the link.
LINK SHARING
Links should only be used for quick sharing of non-confidential or non-sensitive information. Assume that anyone with a link might accidentally forward it to the wrong person and that a total stranger might be able to read it. If you want to avoid this, you can set specific access to people who have the link.
If you hit the “More…” section in the viewer access drop-down, it’ll bring up a list of more options for link sharing, like only allowing people from your organization to see it, or needing access and the link to access the document.
NOTE:
Setting link sharing to “On – Public on the web” will set the document to be discover-able in Google’s search engine. Make sure this is what you want to do before saving with this setting.
Email Invites
Email invites are more secure as you retain control over who can access your document and what each person has access to do. After adding the recipient’s email, you can include a note to give that user some notice about an action they need to take, or a description of what the document is for.
Once you confirm the recipients, an email is sent to let them know you have shared a document with them.
Dec 21,2023